
DIY for administrators
The Administration menu includes all the functions needed to configure DIY users and third-party client access.
User administration
User permissions
When you create new users and user roles, you need to assign permissions granting access to the different parts of the DIY application. The table below gives an overview of the kinds of permissions that apply to a particular user profile, but the actual permissions you grant depend on how the user will use the application.
| User profile | Permissions |
|---|---|
| Administrator | Manage access token, Manage users, Manage third party applications, Manage roles, Account information, Manage access control rules |
| Developer | Node red, Manage models, Manage datasources |
| End user | API explorer |
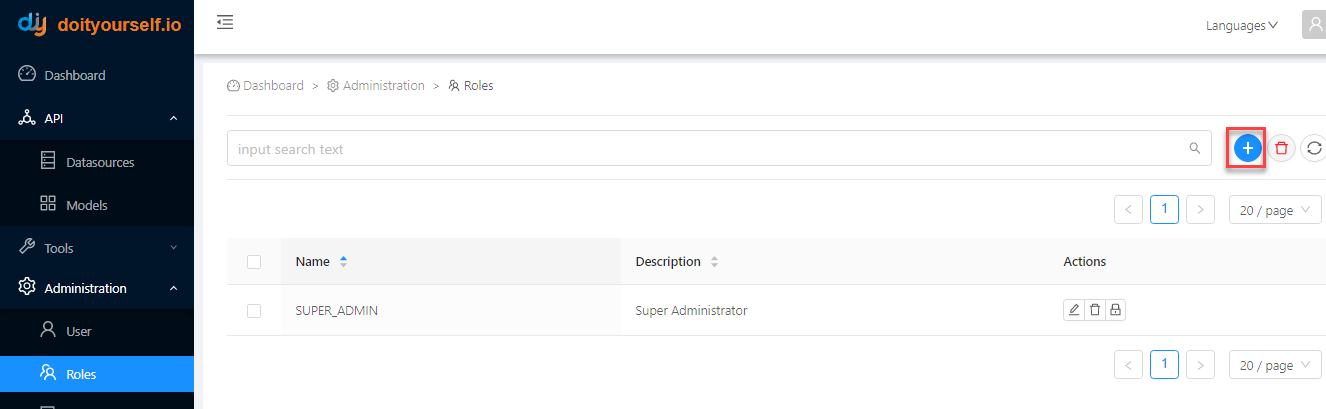
Create a new user role
Creating user roles allows you to define a user type with an associated set of permissions. You can then assign the roles when creating new users or access control rules.
- Select Roles and click
 .
.
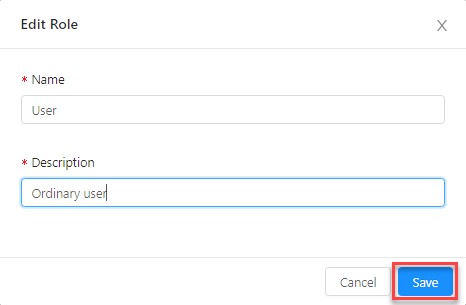
- Enter a name and description for the role and click Save.
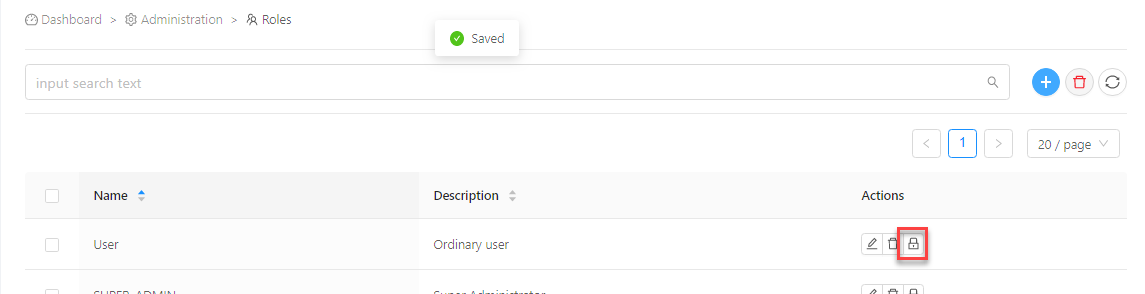
- Next to the new user role in the list, click
 .
.
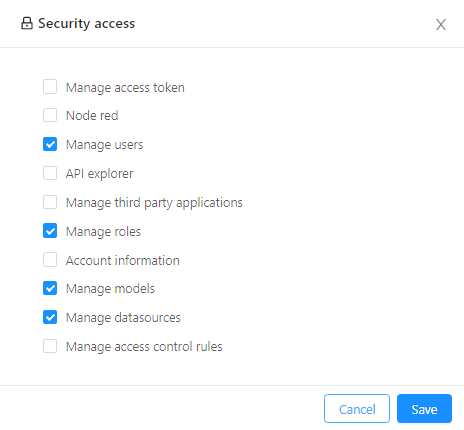
- Select the permissions required for the user and click Save when you have finished (see User permissions for an overview of permissions by user profile).
Create a new user
- Select User and click .

- Enter the email address and click Save.
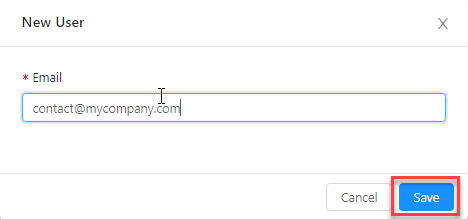
An account verification email is sent to the user and a new user entry appears in the list with a Pending verification icon next to it.

- After the user has verified the account, the user entry changes to Verified.

- Next to the user in the list, click one of the following to update the user's permissions (see User permissions for an overview of permissions by user profile):

- to view a list of permissions and enable/disable them individually
 to assign a user role with all the associated permissions to the user account
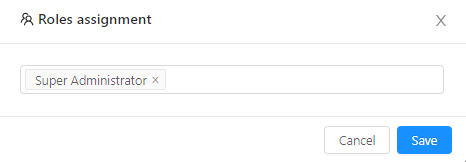
- Click Save when you have finished.
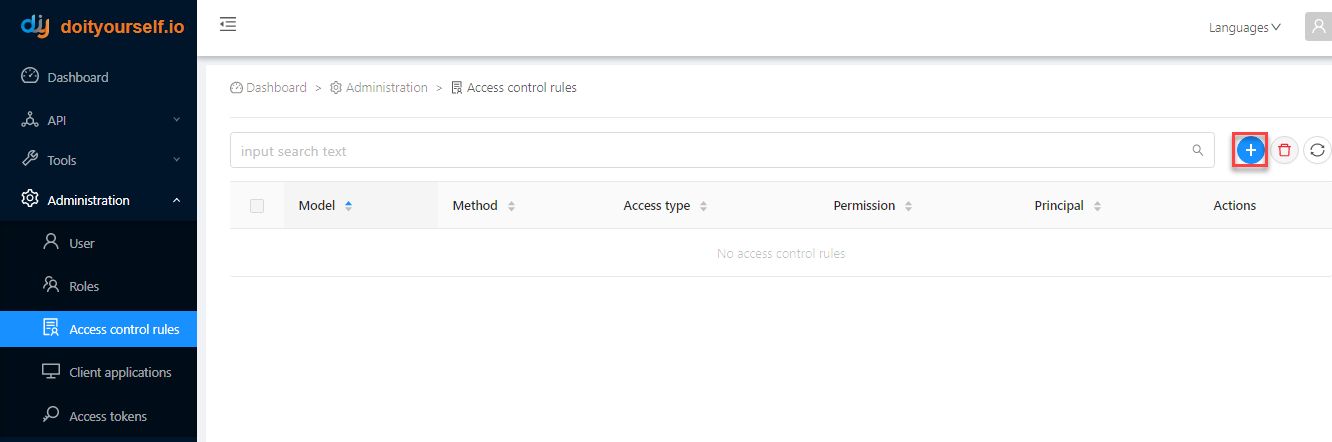
Create access control rules
Once you have created your data model, you can restrict access to it, by limiting users/user roles to a specific type of access to the entire data model or specific endpoints.
- Select Access control rules and click .
- Specify the details of the access control rule:
- the Model and Method
- the Access type the rule is granting
- a User or Role Principal type, and the name of the user or role in Principal id
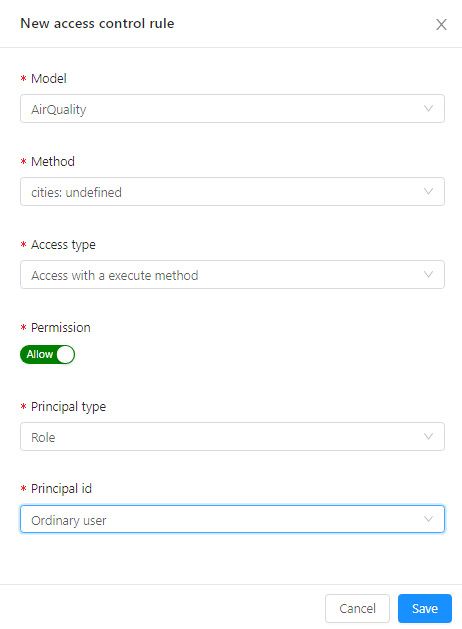
- Toggle the Permission button to activate the rule and click Save when you have finished.
Third-party client application administration
You can configure third-party client applications to access your DIY APIs. The procedures below explain how to configure the access first in DIY, then on the client side, using Postman as an example.
Authentication
DIY uses OAuth 2.0 tokens for third-party client access. You can find more information on OAuth 2.0 authentication on the OAuth 2.0 website.
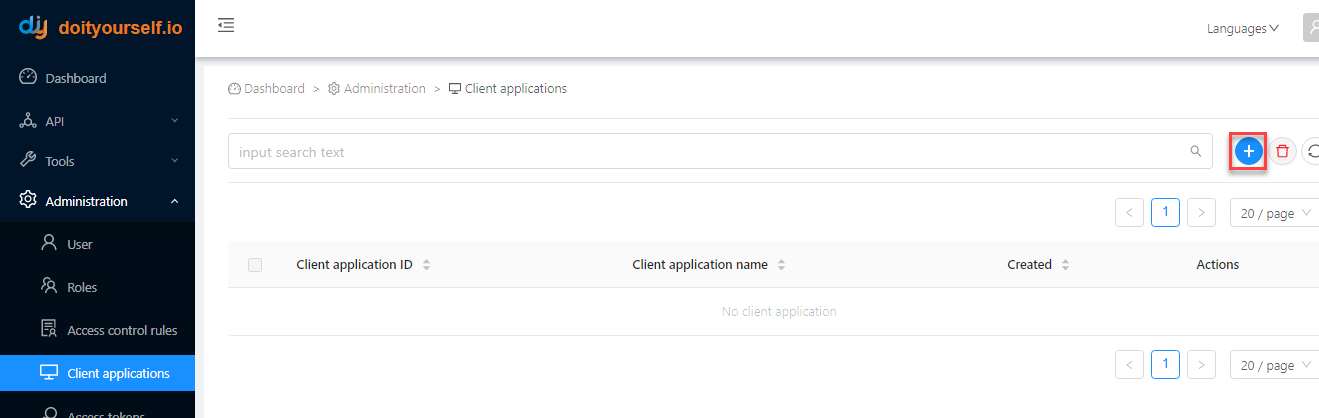
Configure the client access in DIY
- Select Client applications and click .
- Enter the details of the client application:
- name
- secret code
- OAuth 2.0 grant type
- Public or Private application type
- specify Scopes as DEFAULT
- callback URLs
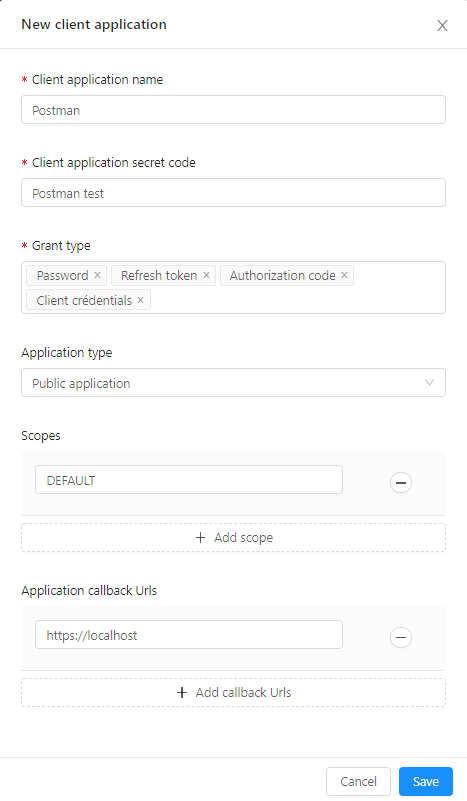
- Click Save when you have finished. The client application is saved with a new client application ID.

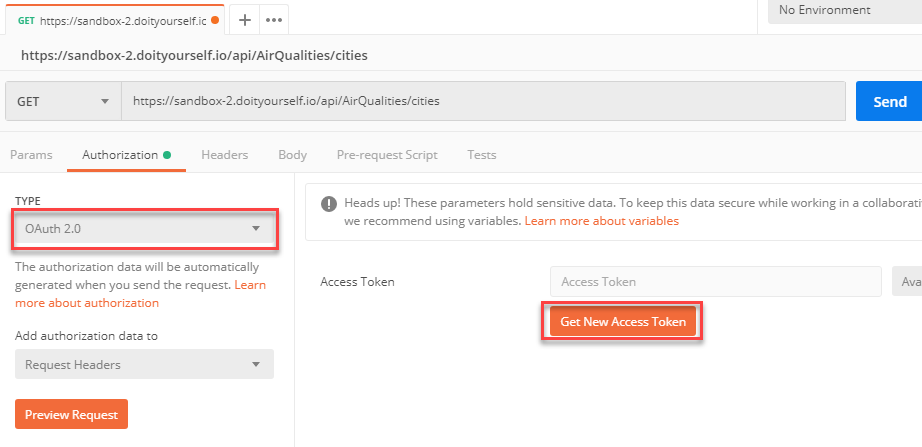
Request the token on the client side
- Create a new OAuth2 access token request on the client side. In the Postman application, for example, you need to request the token in your endpoint's Authorization tab.
- Specify the details of the token request, ensuring the values match the DIY client configuration. In this example, the Access Token URL includes an example domain and the OAuth /token endpoint, the OAuth 2.0 requirement for Password grant types. Your own URL needs to include your own DIY domain and the appropriate OAuth 2.0 grant type endpoint (see the OAuth 2.0 website for more details).
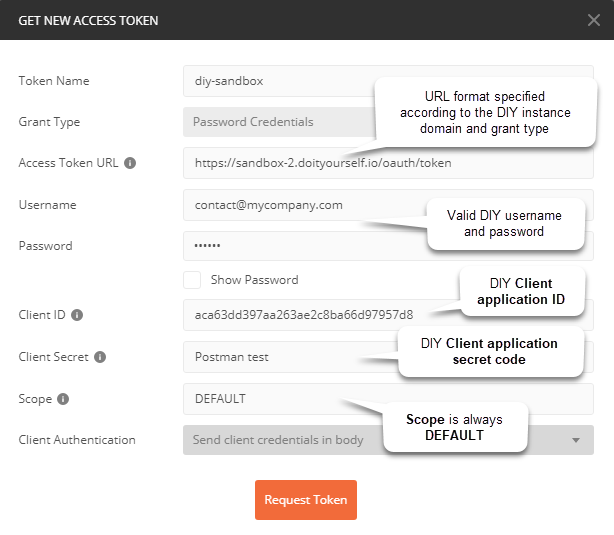
- After you click Request Token, Postman displays details of the token returned by DIY.
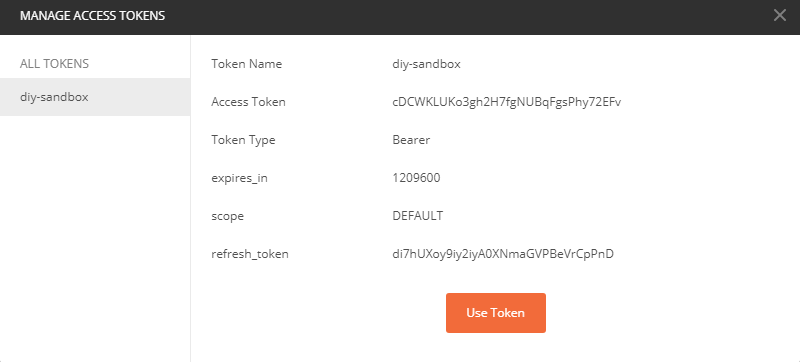
Access token management
You can review and revoke access tokens by selecting the Access tokens option.
